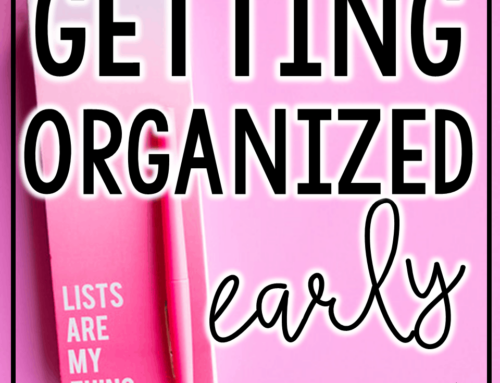
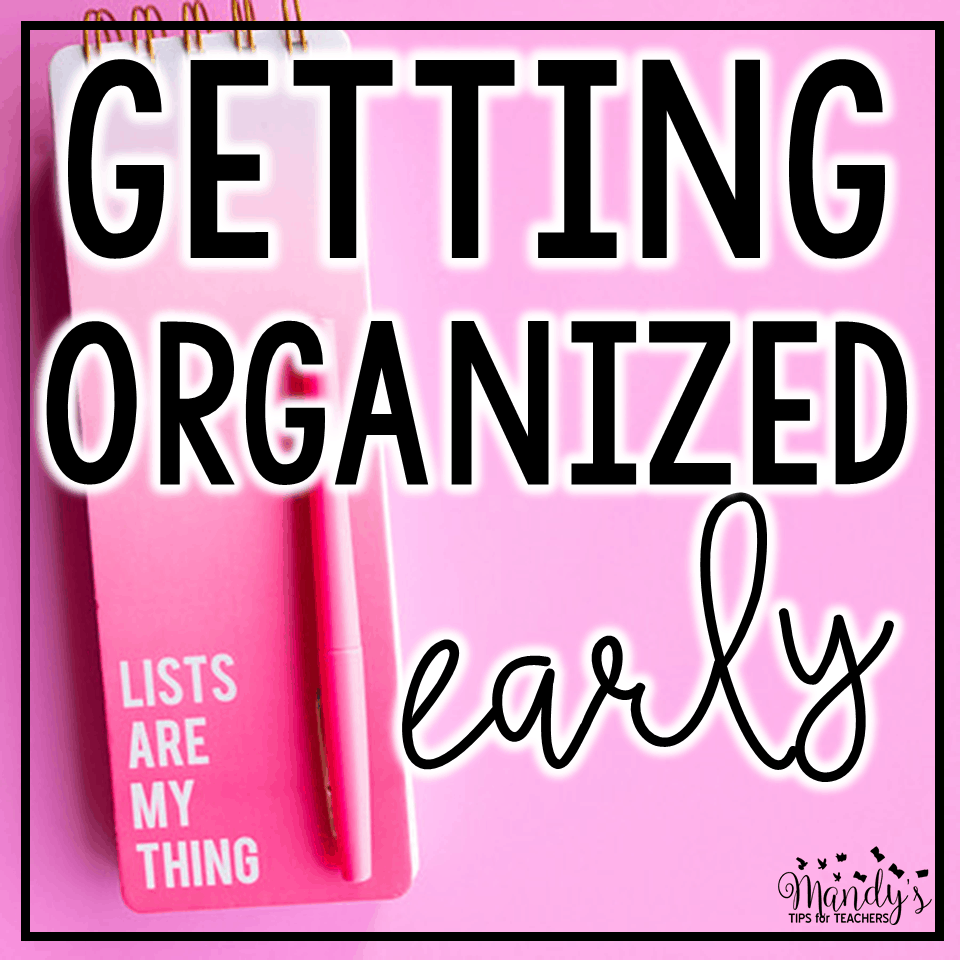
This post isn’t exactly about getting it organized, but it IS about making it pretty. That counts,right?
My new class has a window. I LOVE it! There is something about just being able to SEE the sun to make me feel better. I think I am one of those people really affected by sunlight and the weather. I would never make it in Alaska.
I wanted a curtain that matched my bulletin boards because it is right next to the boards.
See all that wonderful light…
“The world is dark, and light is precious.
Come closer, dear reader.
You must trust me.
I am telling you a story.”
Name that quote from a favorite children’s book!
I wanted a curtain, but didn’t want to pay the big bucks to buy one. So, I decided to make one myself!
I spend about $5 to make this gem!
I have already shared my
love of flat sheets as a source of cheap material. They didn’t fail me again! I bought a white and blue polka-dot twin sheet that coordinated with my blue bulletin boards. To make the curtain I needed
an iron, straight pins, fabric, stitch witchery, measuring tape thingy, and ribbon. I bought the twin sheet at Wal-Mart. I already had the ribbon in my crafting stash. The stitch witchery was actually from my IKEA curtains. IKEA put it with the curtains so the owner could hem them if wanted. I was too lazy for that (curtains pooling on the ground is totally in fashion now…I think), and too cheap to throw it away. So far I have used that tape to hem my daughters Halloween costume and make a curtain. I feel VERY crafty.
I was so proud to whip out the straight pins and measuring tape. My mom is Suzy Homemaker. Literally. She has a degree to teach Home Economics and the whole deal. She can sew, cook, and craft. I am frequently in awe. I, however, missed the whole sewing gene thing, I have all of her stuff, but the last time I used a sewing machine it literally smoked. That sewing machine and I don’t have a very good relationship!
Want to make your own cheapo curtain? Here is a tutorial!
1. To get started, iron the heck out of the sheet and chop of any extra you know you will not use to make it more manageable.
I knew I wanted my curtains to be about 15 inches long or so. Knowing them I trimmed the fabric down to about 24 inches to allow room for errors. Because I do things like that. A lot. Like that cutting was the first mistake. I cut the WIDTH of the sheet- you know so I had the hem that goes up against your chin. To make a fully, gathered curtain I should have used the LENGTH that runs the side of the bed. Eh.
Are you still sure you want to read this tutorial?
2. Measure how wide you want the curtain to be. I wanted mine to be about 14 1/2 inches. Notice that the already-made, store provided hem (where your chin goes on a bed sheet) is at the top. I did this purposely because I wanted the pretty, store perfect hem to be at the bottom of my curtain when it was hanging instead of my ghetto quick version. After measuring, pin the hem with straight pins. Do this the entire length of the curtain. Make sure to pin midway between the fold and where you cut.
3. Stop and get a drink. Shake it off. Whew this crafty stuff is hard!
4. Lift up the edge to straight pins and careful lay a strip of stitch witchery between the layers of fabric. See how far that stitch witchery is from the fold? That is on purpose. I was creating a pocket for the tension rod. Lay the fabric down and iron over the stitch witchery. Pull out the straight pins as you iron.
(Sorry for the blurry photo.)
That is a picture of my pocket!
5. Now…go to the kitchen and see if there are any cookies. Get disappointed when there are none and then return upstairs to make the curtain cuter in your frustration.
6. Measure out a length of ribbon longer than the curtain. Use straight pins to pin the stitch witchery to the back of the ribbon.
7. Pin the ribbon to the bottom of the curtain. I pinned mine on top of the store made hem (the hem that where your chin goes). I put the ribbon in the middle of the store made hem. Does store made need a hyphen? I have typed it WAAAY too many times to go back and add a hyphen. If it needs one, please just go back and mentally insert one there each time.
I used a measuring tape to make sure the length from the bottom of the ribbon to the bottom of the fabric was the same every few inches. Iron the ribbon, pulling out the straight pins as you go.
8. Blot your face and go look for more cookies. All that measurement makes me break into sweats.
9. I cut the ribbon so that it was slight longer than the curtain. Then I folded the ribbon over and ironed it for a more finished look. On one side- I didn’t think of it on the first side. Whoops.
10. Ta-Da! A $5 curtain!
Mandy Gregory is a 2007 and 2012 Teacher of the Year. She has taught Kindergarten- 4th grades in both the general education and inclusion settings. She is currently a 1st grade Special Education teacher. She is the owner and creator of Mandy’s Tips for Teachers website (www.mandystipsforteachers.com) and has over 13 years of teaching experience. She is married with two beautiful children.


It is from The Tale of Despereaux.
[email protected]
Yep…another Lisa was just about to say that! 🙂
LOVE that book!
Yea for windows and sunlight! (Cute curtain!)
Tale of Desperaux…love that book! Super cute curtains! 🙂
Gladys
http://teachinginhighheels.blogspot.com
One of my favorite read alouds…Tale of Desperaux. Love that mouse!
tokyoshoes (at) hotmail (dot) com
Tale of Despereaux of course!
Emily
[email protected]
Tale of Desperaux?
Cute curtains, but I hate to iron.
[email protected]
Cute curtains. I wish I could put proper curtains on my windows. The room would look so much nicer. But alas, it's against the fire code.
The quote is from The Tale of Despereaux! I need to read that book still.
[email protected]
Tale of Despereaux! I love that book and I loved the themes of light and dark. I cried at the end 🙂
[email protected]
Tale of Despereaux! Loved that book!
[email protected]
Cute blog and curtains! 😉
Go check out my 100 follower giveaway and enter to win!
Mrs. Crouse 🙂
Oooh! Love that book….Tale of Despereaux:)
[email protected]
Hi, Love your post. The quote is from The Tale of Despereaux.
Kim
[email protected]
Great directions! I'm glad I have my mom to make them for me!
As we gear up for the new school year-new ideas, things to add, things to change, etc. I encourage you to give JogNog Quick Quiz a try.
My students use this site in my classroom. I was so impressed that I shared it through social media platforms. Now, I have the opportunity to work with them part-time after school in the area of social media promotions.
JogNog Quick Quiz allows you to create an online quiz in literally 60 seconds or less. This video will show you how. http://www.youtube.com/watch?v=T_60PKEZRsI
Using JogNog's content of over 20,000 study questions, you are sure to build a quiz to meet your needs. Give it a try, and let me know what you think!
Cara
Teaching…My Calling
Cute curtains. I wish I could put some up to go with my bulletin boards.
I love using flat sheets for my bulletin boards.
The quote is from The Tale of Despereaux.
Claudia
cotoclaudia [at] gmail.com
Hey Mandy! Those curtains came out so lovely–and the price is perfect! I agree with you on the windows…I'm glad you have one this year 🙂