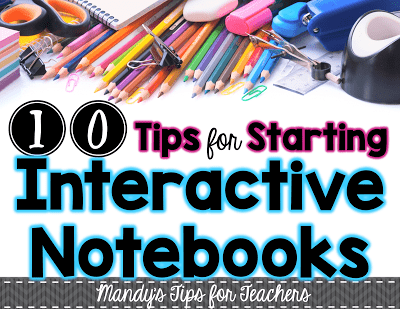
I went out to dinner with another teacher the other night. You guys know how it is, I am sure! We started chatting, and OF COURSE school popped into the conversation!
She mentioned that a friend was entering her FIRST year in the classroom and had bunches of questions. So, this blog post is really a result of that conversation (love ya, Tina!). She wanted to start interactive notebooks, but wasn’t even sure how to get started!
Here are a few tips and thoughts to help you get started on your interactive notebooking journey!
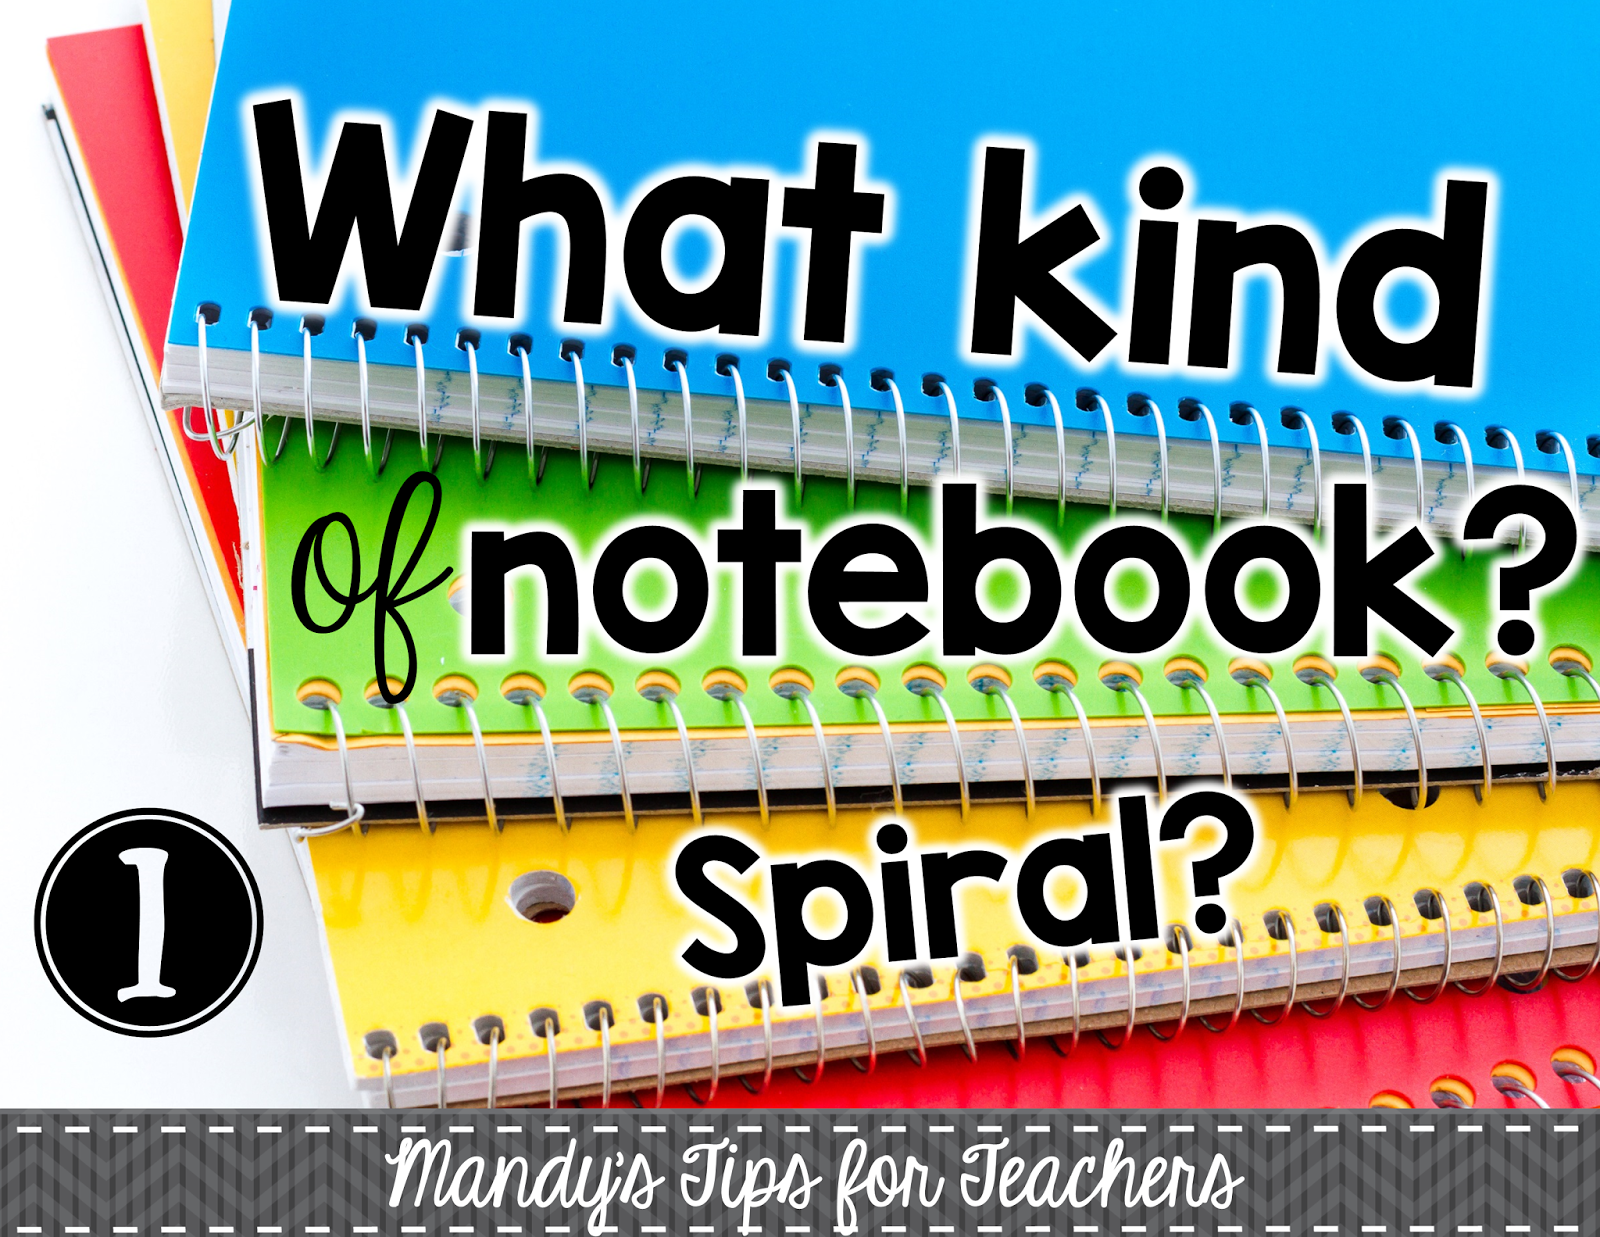
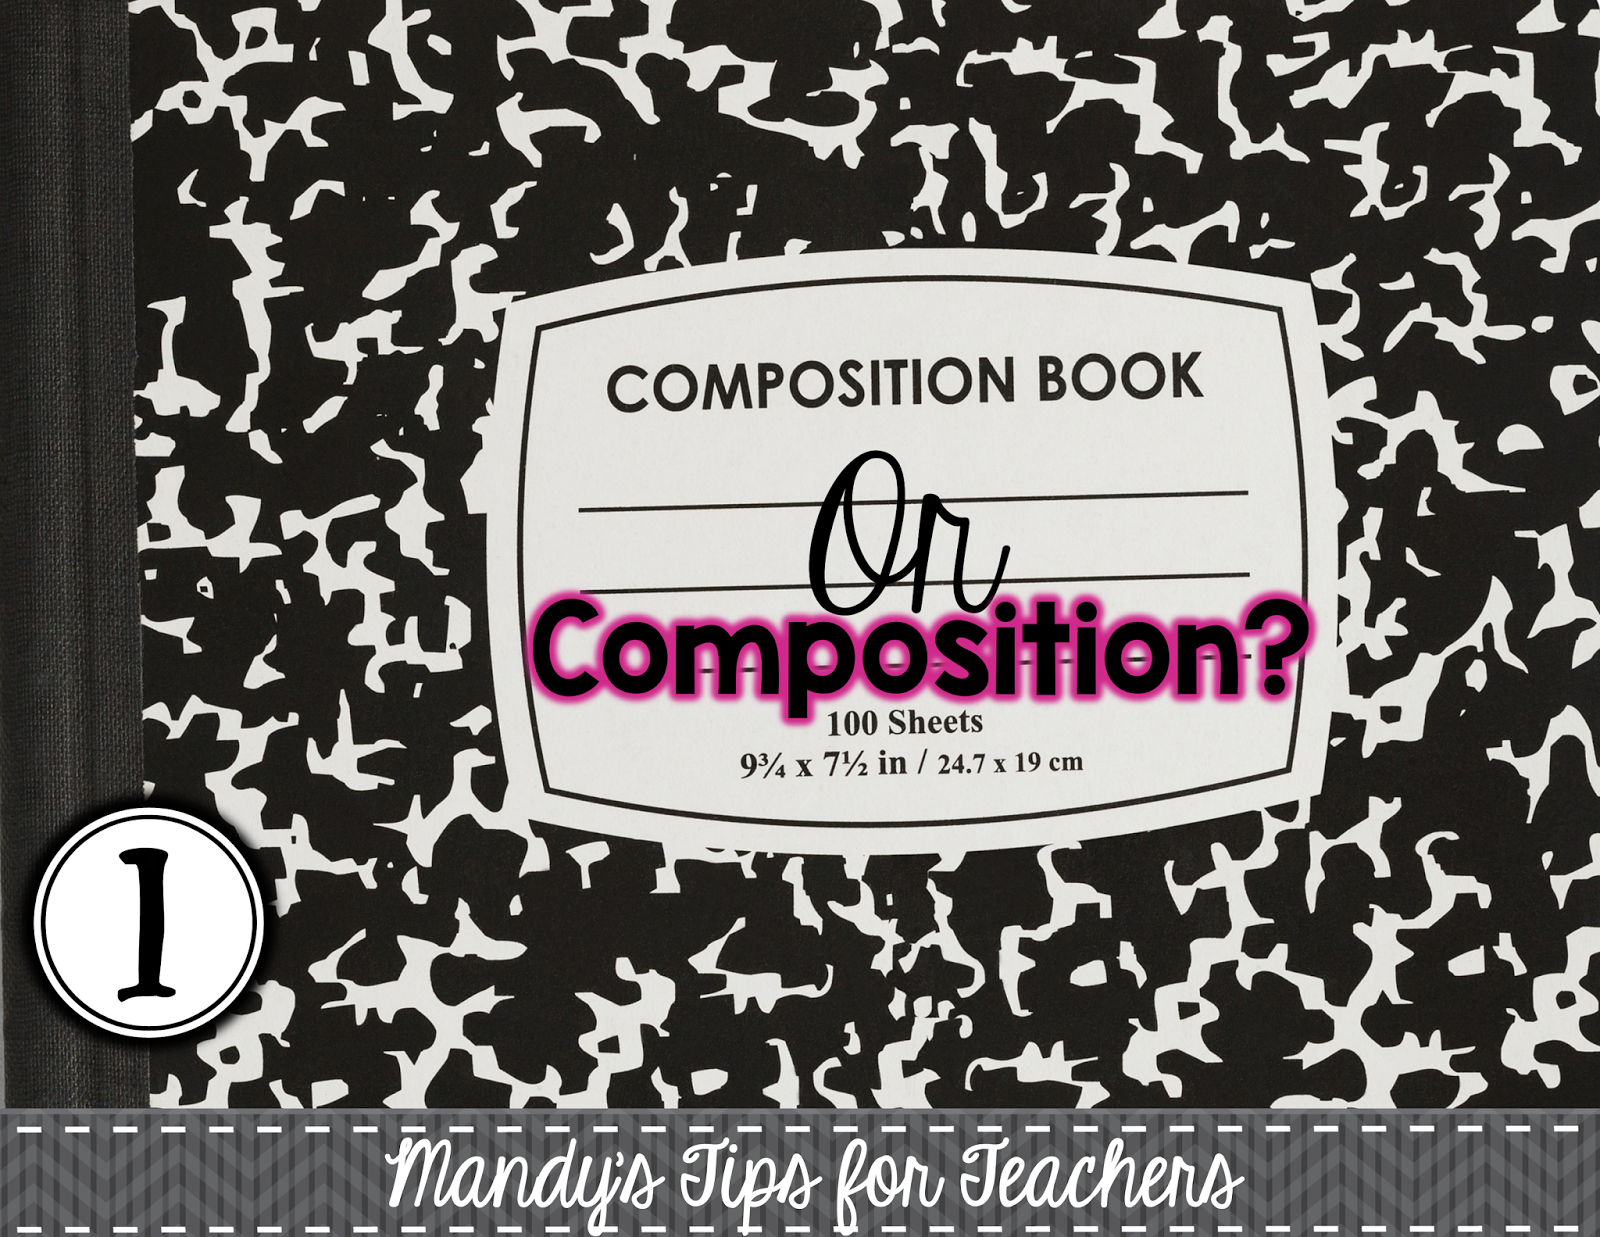
The first problem many teachers run into right out of the gate! Maybe this one is already decided for you, simply by the supplies your students do (or do not) bring in. There are pros and cons to both spiral and compositions notebooks.
Spiral Notebooks:
Pros- super cheap during back to school sale, have larger page size
Cons- pages tear out very easily, the spiral can easily become “unwound”
Composition Notebooks:
Pros- sewn binding so pages don’t tear out easily
Cons- more expensive, actual page size is a tad smaller
Really, it is up to you and what works best for your classroom and age of children.
If you do choose composition notebooks, you can get around the smaller page size by simply reducing the copy size to 80-85% on your copier ;).
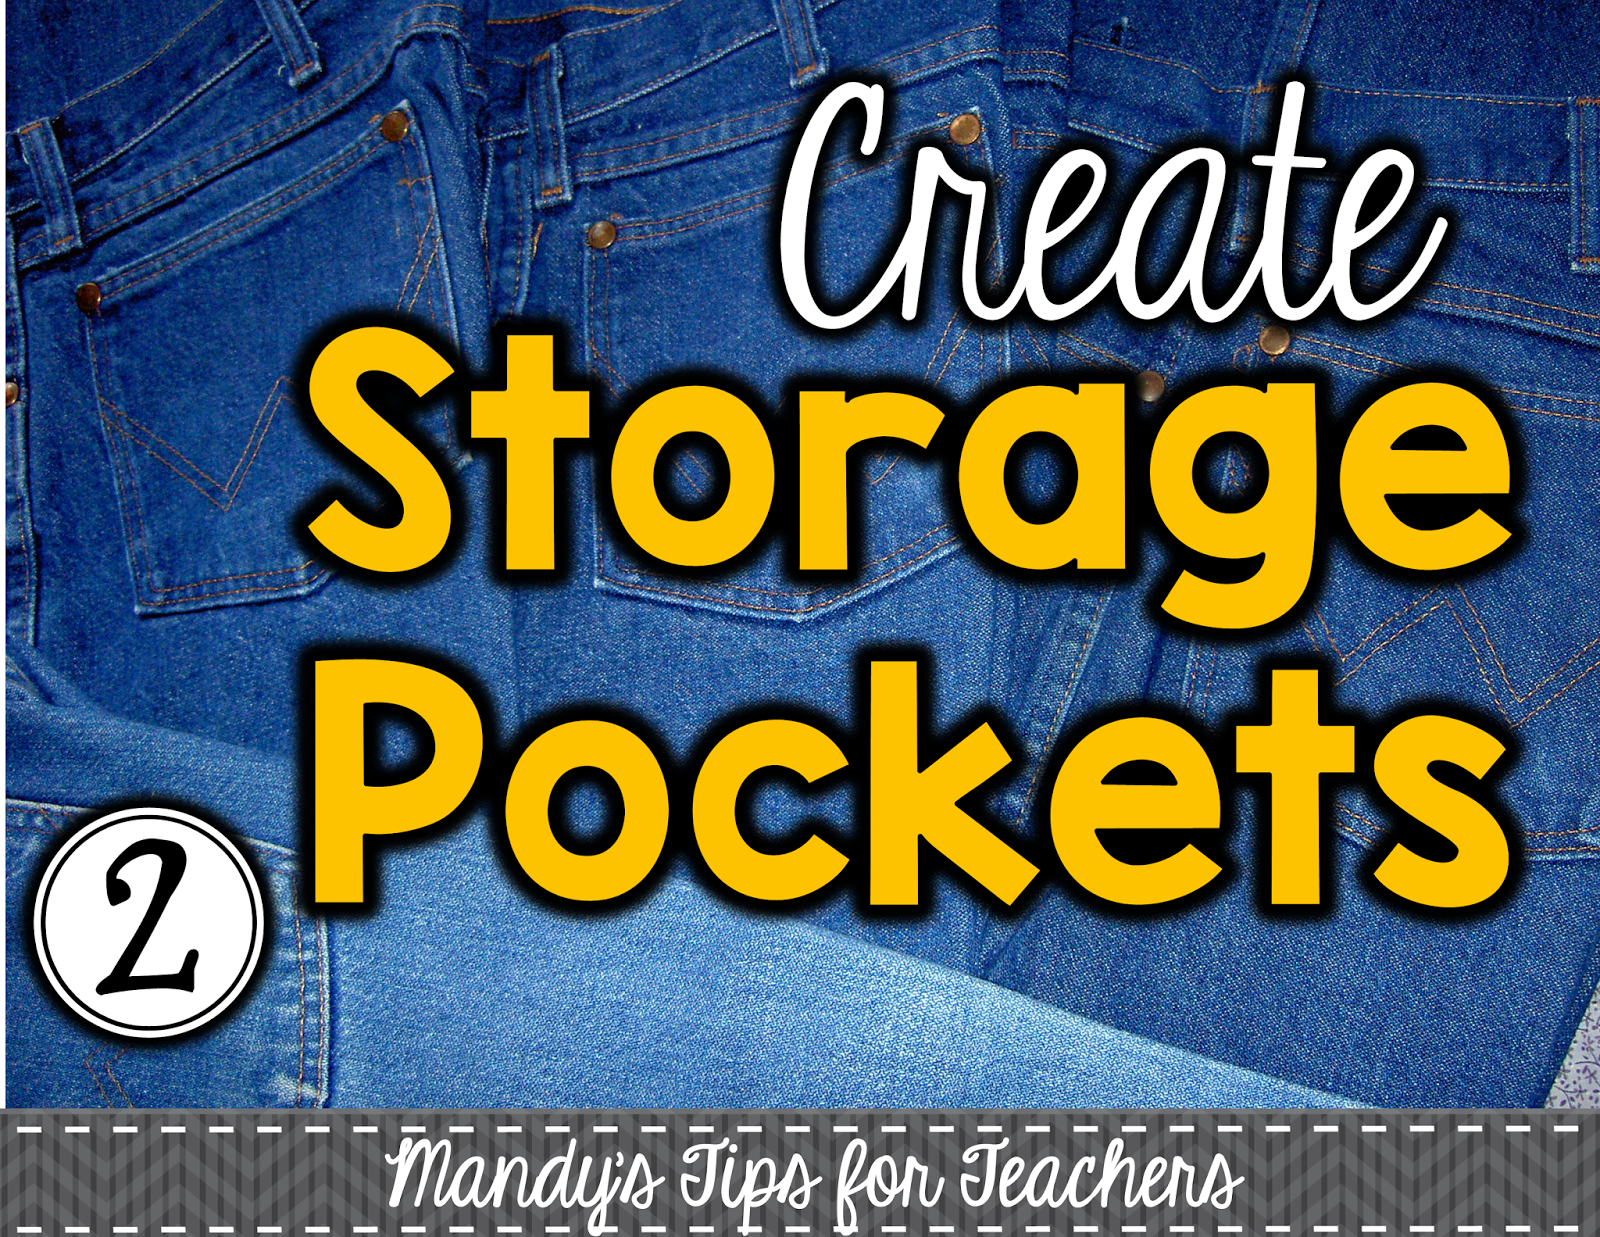
Storage pockets are so handy and easy to create! Either create a pocket by stapling together construction paper or cutting off the top of a clasp envelope. Then have students glue it onto the back or front cover.
If students are unable to finish an activity, but the pieces are already cut out, simply have students store the pieces in the pocket!
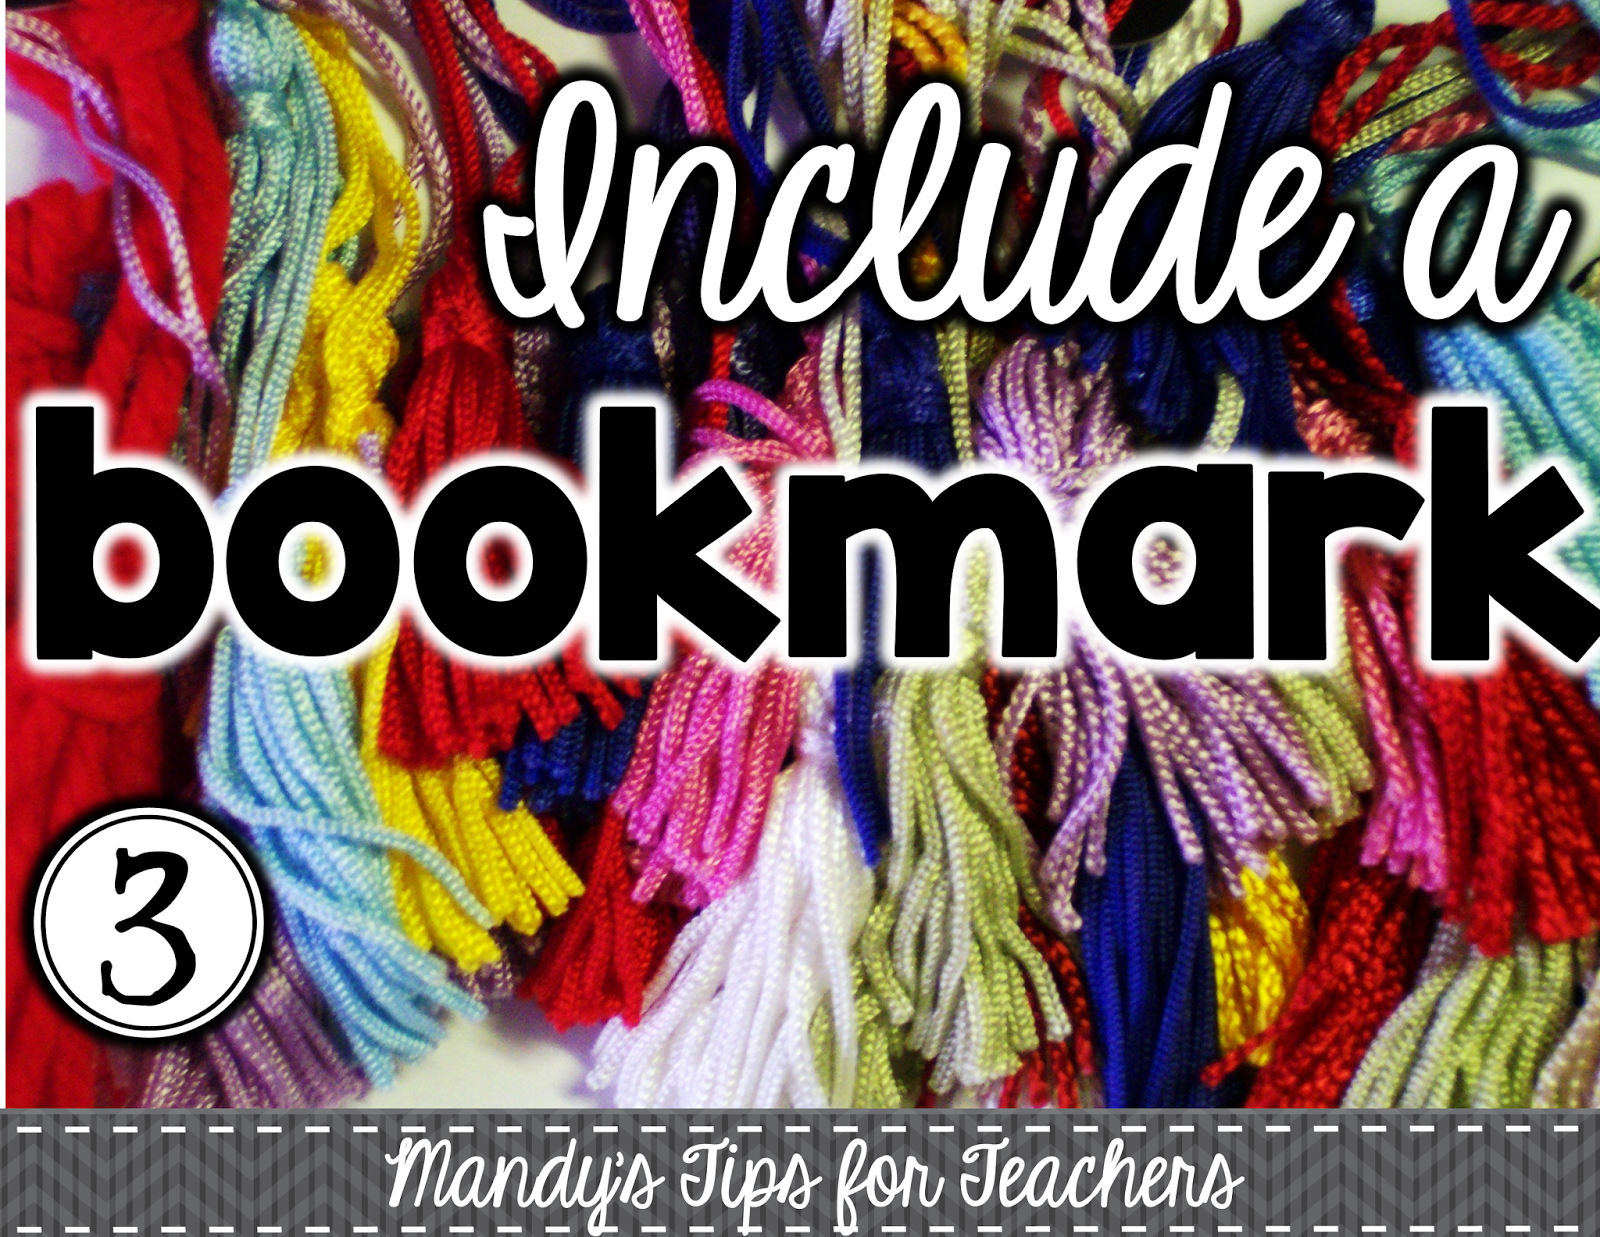
“Turn to the next page, please.”
How many times have you said this, but somehow your sweet cherubs end up turning a chunk of pages and have skipped about 30 some odd pages? Yeah, that is real life.
One way to prevent this is by hot gluing a thin piece of ribbon to the back cover in the top left corner. Students can use it as a bookmark to help them find the correct pages. At the very least it will help them remember where they left off!
Another trick is to actually teach kids how to turn pages. I teach my kids to pick up a page and gently rub the corner of the page to separate any that are stuck together. It does help some kiddos!
Model, model, model. Interactive notebooking requires kids to have good listening skills and the ability to follow directions because they are multi-step.
Make sure you model what best effort should look like in your classroom? What lines do students cut or fold on? Where and which side do they glue activities on? Do they color? How much? Is coloring done at home? Will the pages be numbered? Will you keep a table of contents?
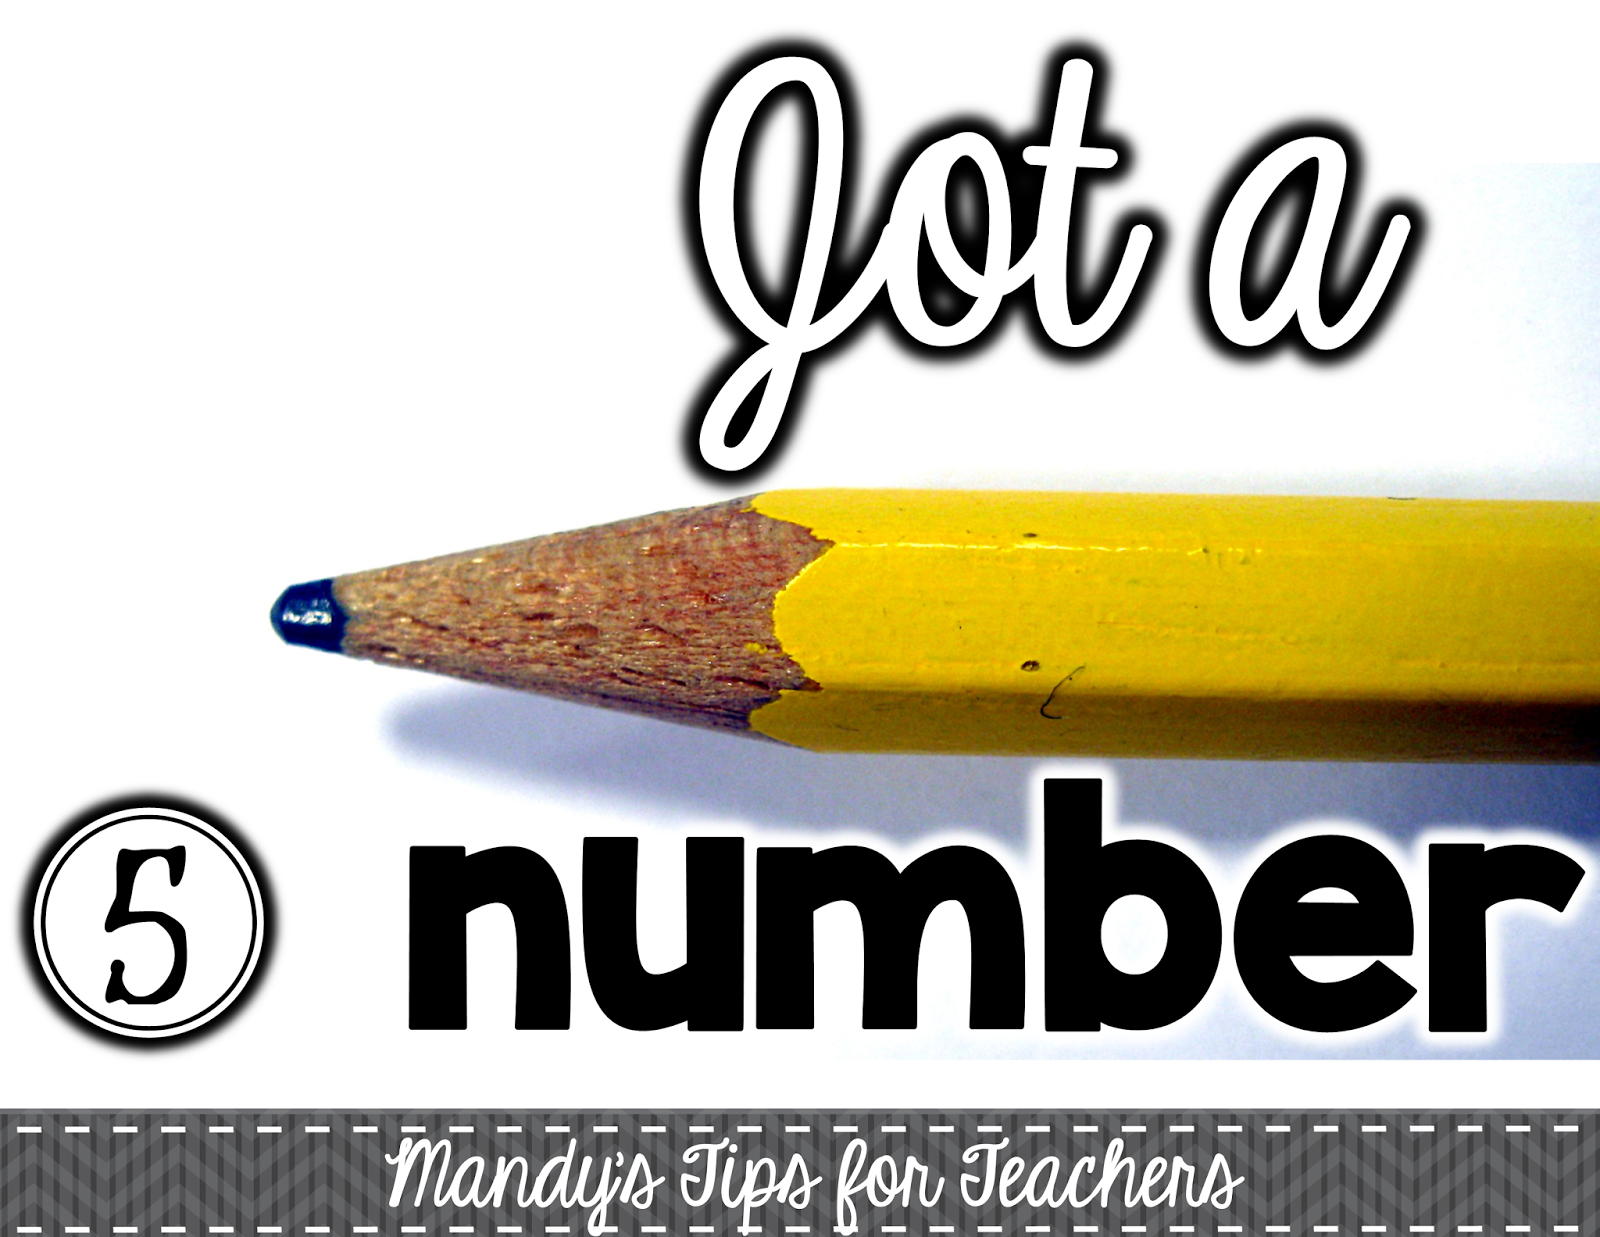
Many interactive notebook activities require a great deal of cutting and pasting. I highly suggest that they jot down their classroom number, initials, or SOMETHING on the back of each piece to identify it. This way if their work is mixed in with a neighbor’s work, dropped on the floor, or mysteriously found in the trash can, it can be returned to the owner.
Just to make it as speedy and efficient as possible, we used classroom numbers in my second grade room. This is what kids wrote on the backs of their pieces.
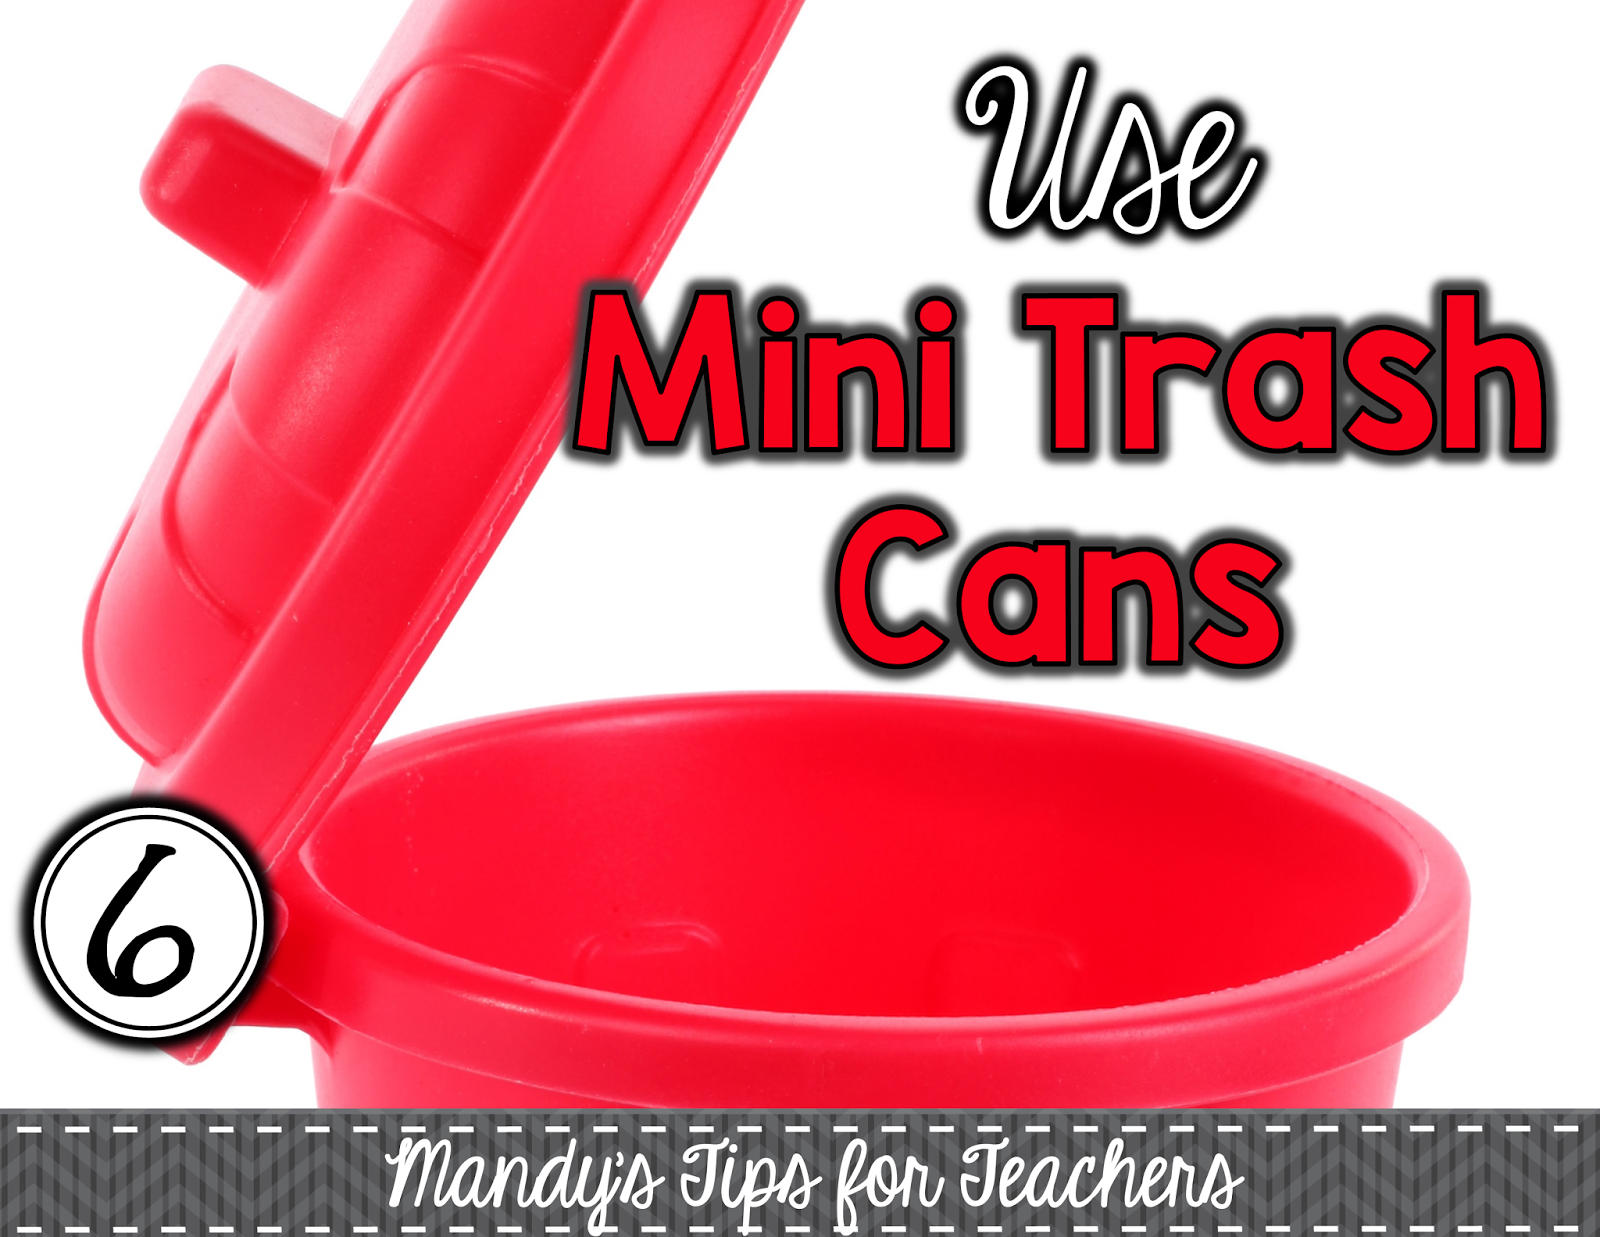
I actually am a fan of letting kids get up to throw trash away. Honestly, I feel kids sit too long as is and need time to stretch and move. So I rarely banned trips to the trash can unless they were wayyyyy too excessive.
However, there were times when we did cutting projects where I wold place a basket at each table groups just to control the chaos. This would be great for interactive notebooks since many of the activities do require a great deal of cutting.
You can use just a Dollar Store basket, or even those super cute mini trash cans that can be found at the Dollar Store!
Ah, the great glue debate!
So, should you use stick glue or white bottle glue? Well, there are pros and cons of both.
Stick glue is easy to use and much cleaner. However, the glue can lose its stickiness and the papers can peel off.
Bottle glue is a hot mess, but sticks for a long time.
I am always afraid my kids will look like this:
(Affilate Link)
I guess the choice is yours. I did use glue sticks and just asked kids to reglue loose pieces. You could also teach an explicit mini lesson on how to glue with dots.
Some people swear by glue sponges, but I haven’t done that.
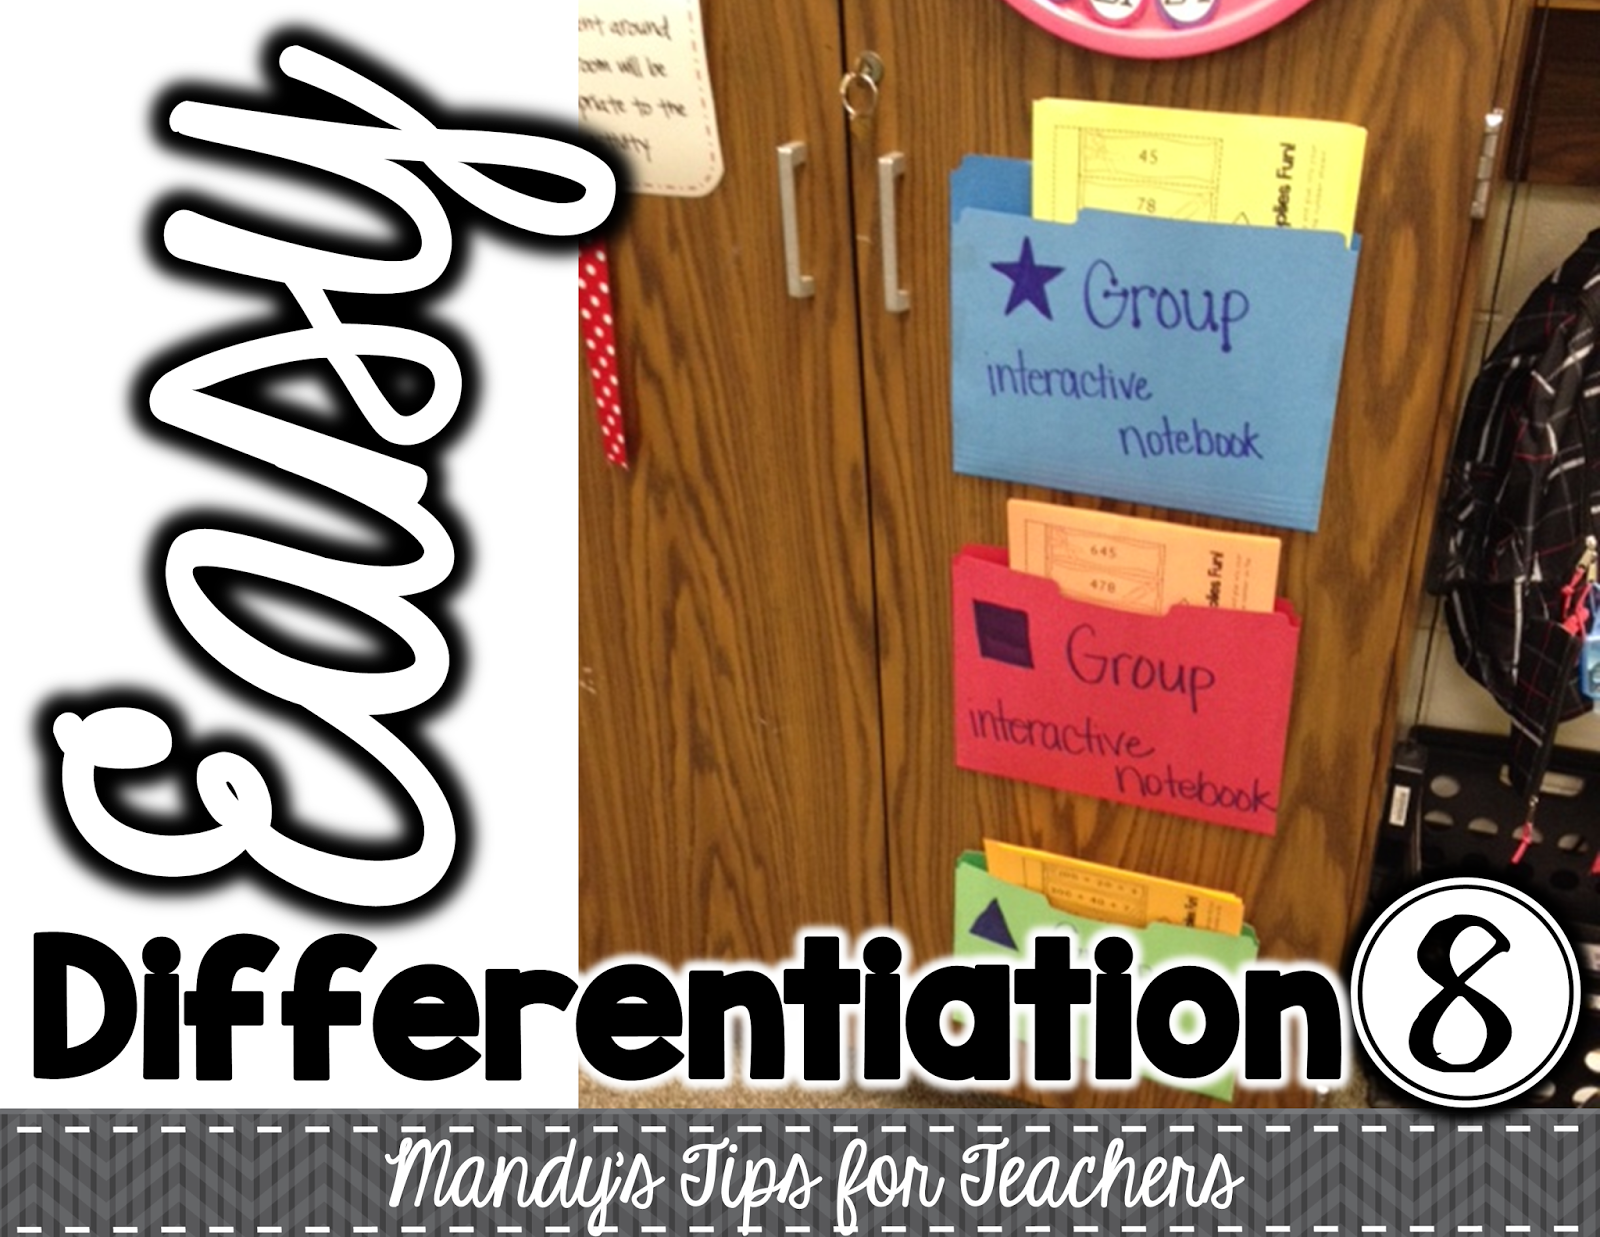
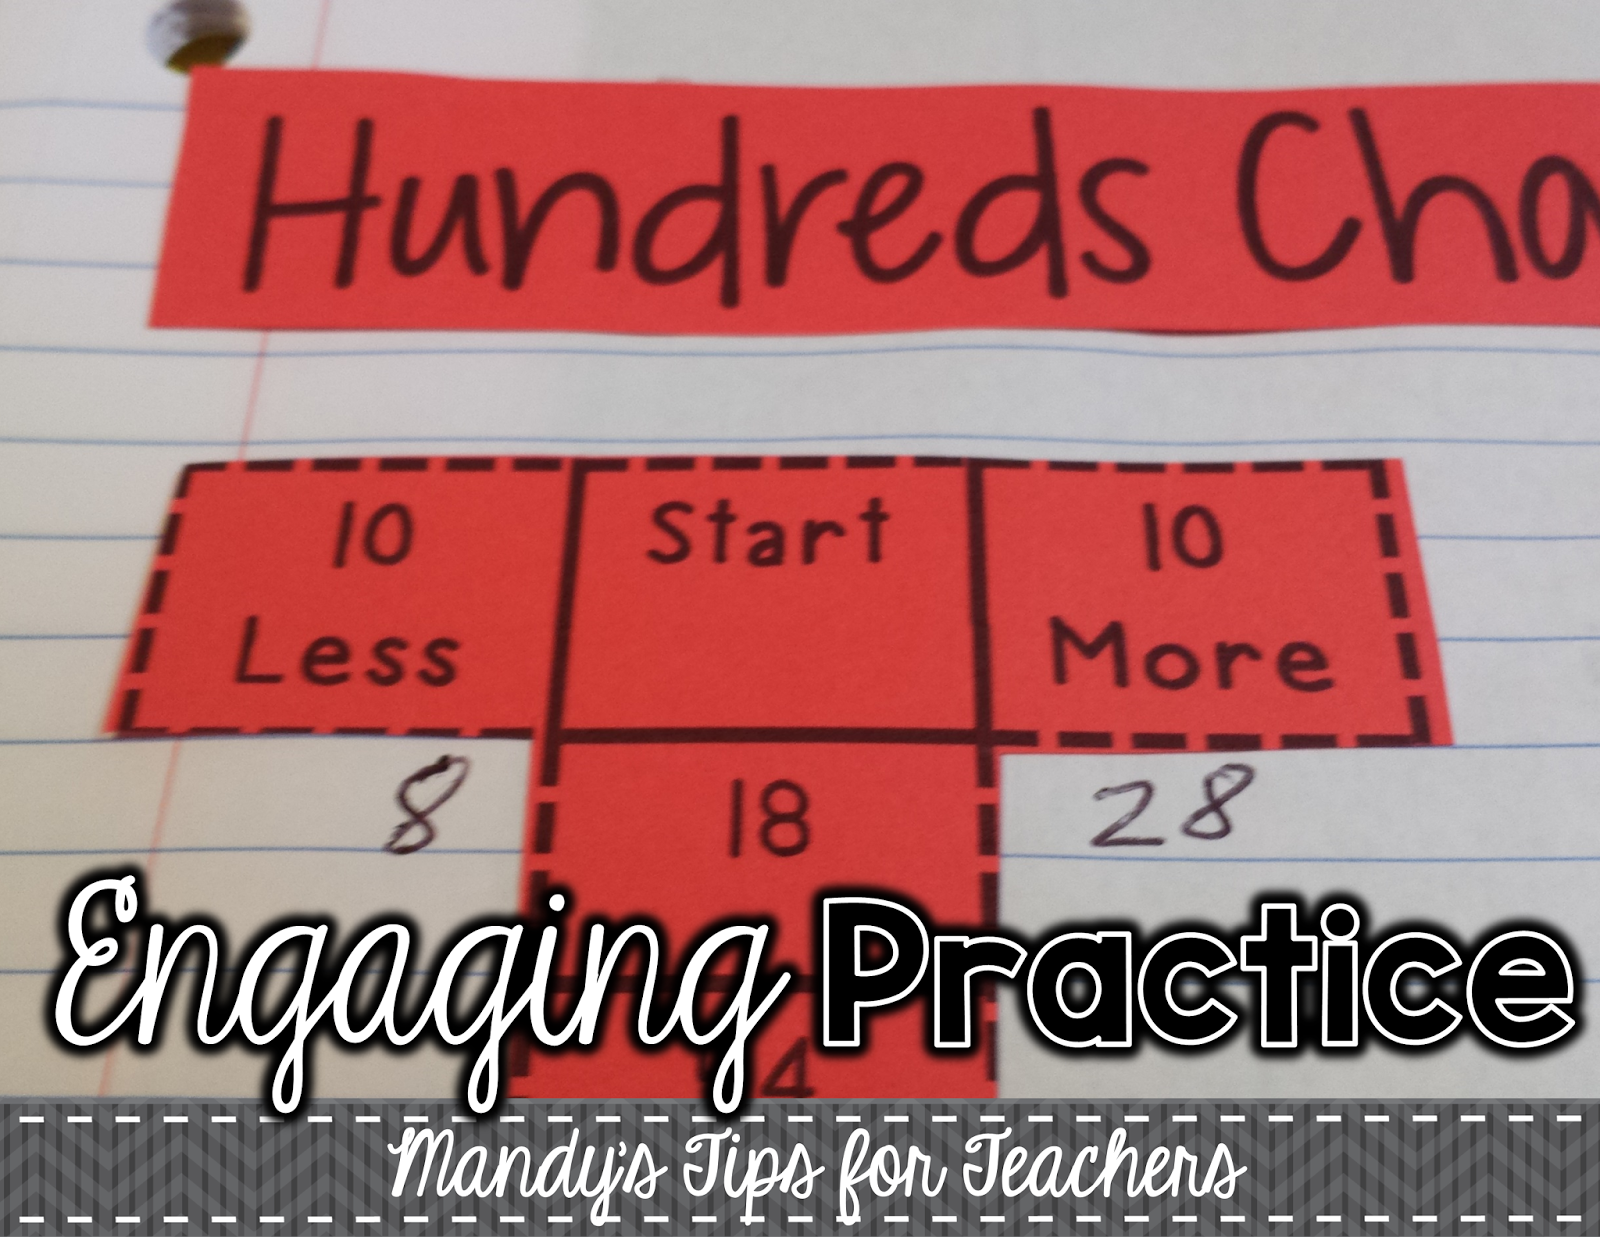
I love that it can be easy differentiate activities in the interactive math notebook. In the picture above you can see color coded folders. Each folder corresponded to a math group. All the work in the pockets looked the same, but was differentiated for each group. Since all the teacher prep required is copying, this was super easy!
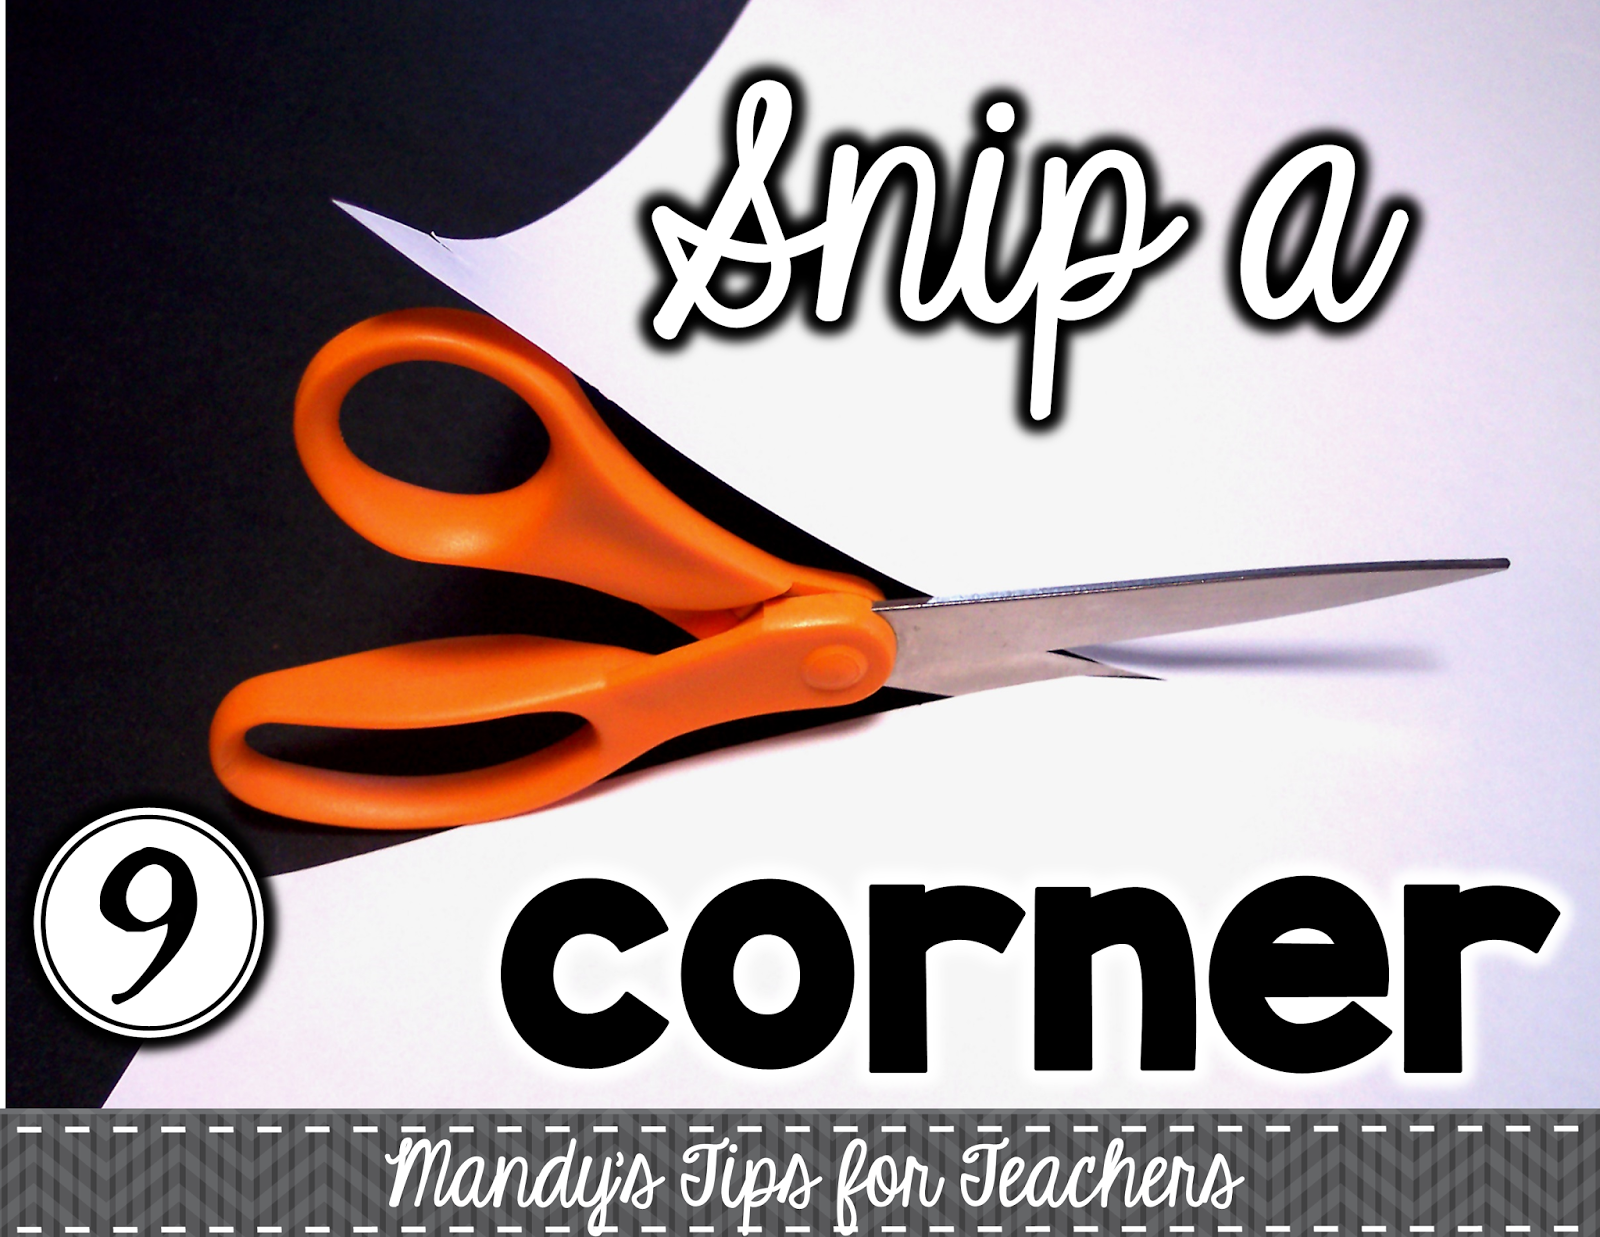
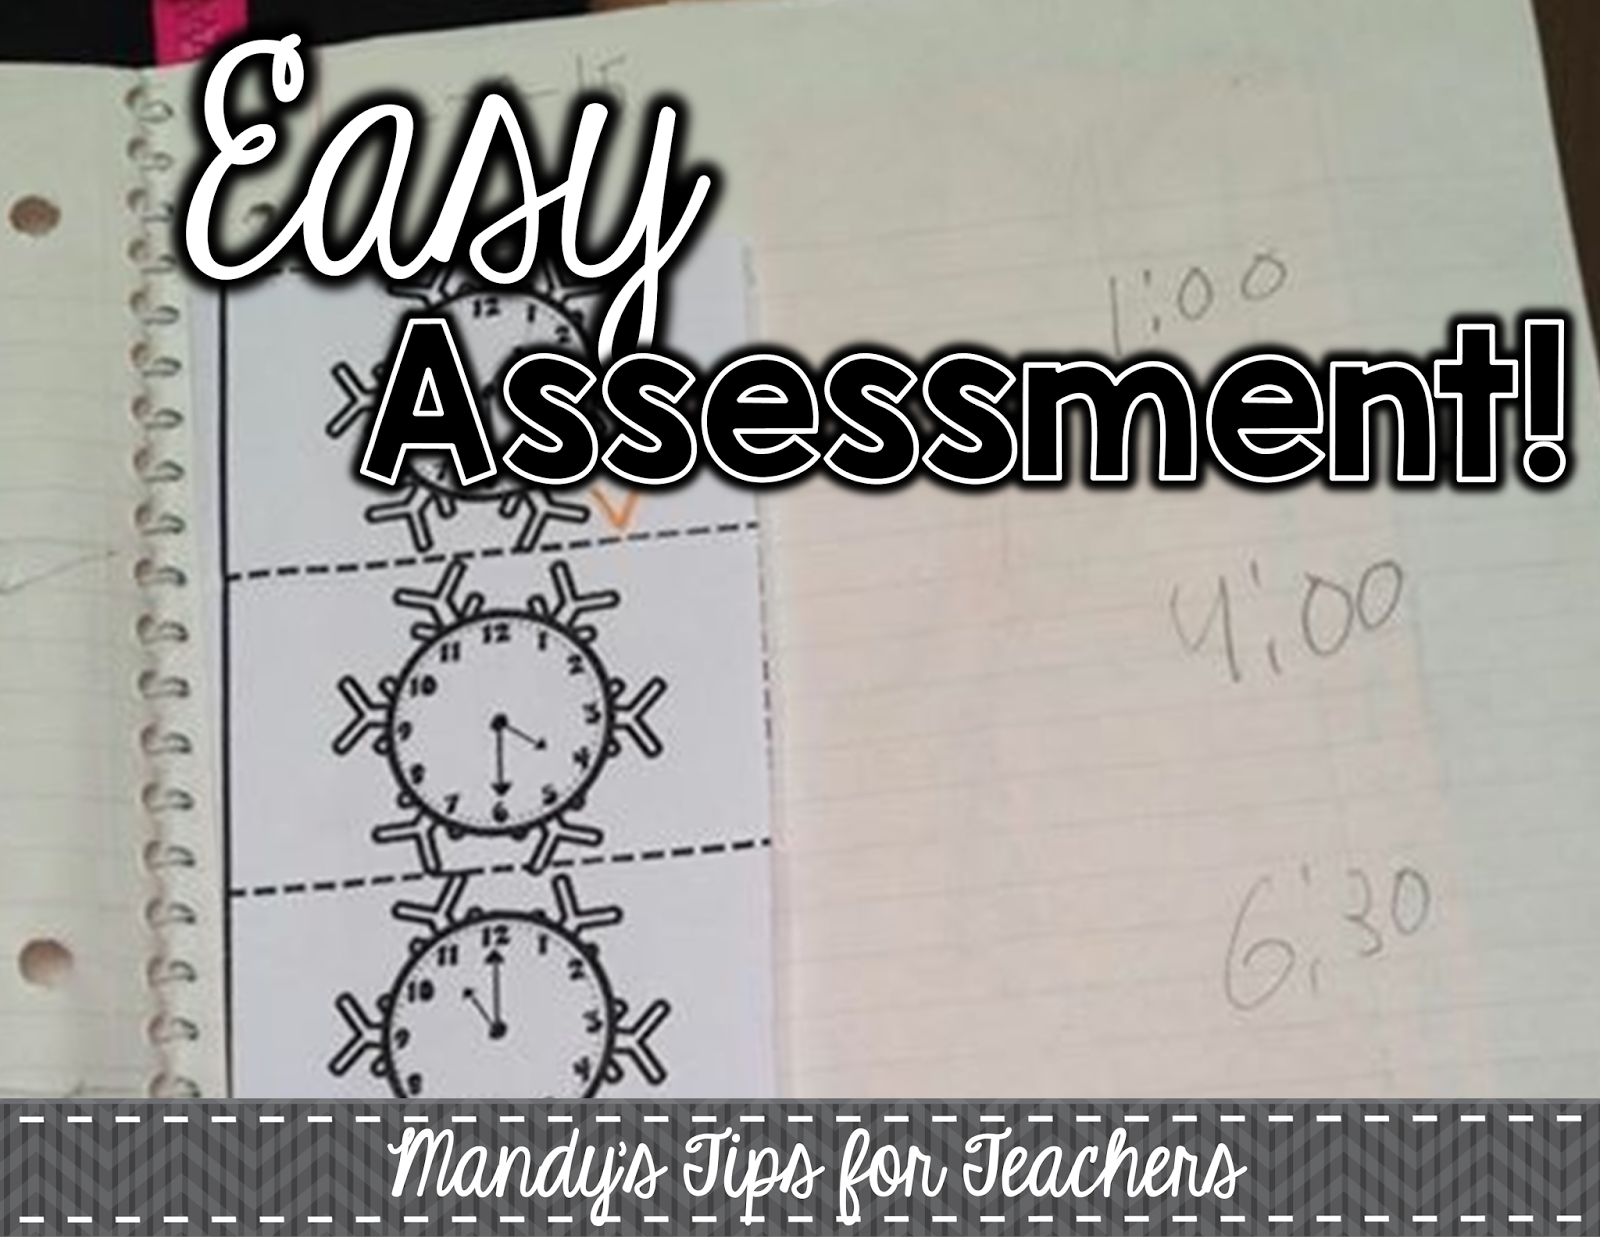
This is a tip for assessing. If you choose to grade notebooks, just snip the top corner of the pages you have checked over. That way you don’t have to thumb through alllll the pages to figure out which is next.
Interactive notebooks are an amazing resource! Students can go back and check their learning as reference.
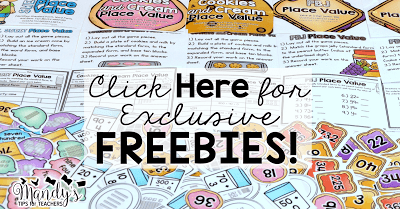
Want to make the most of using your interactive math notebooks as a reference tool?
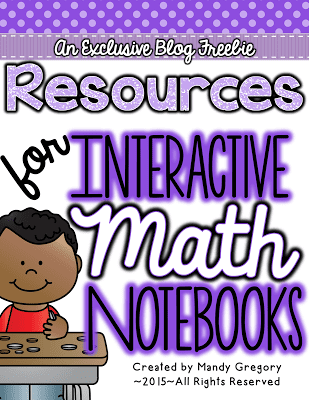
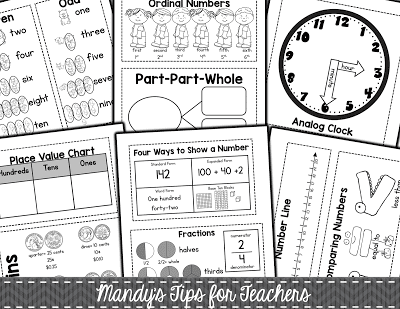
Click on the pictures above to get a FREEBIE pack of math tools for students to add to their notebooks! The freebie pack includes a number line, hundreds chart, place value chart, coin chart, clock and MORE!
You can glue them in at the beginning of the year to teach kids how to cut and glue, or glue them in as each concept is introduced!
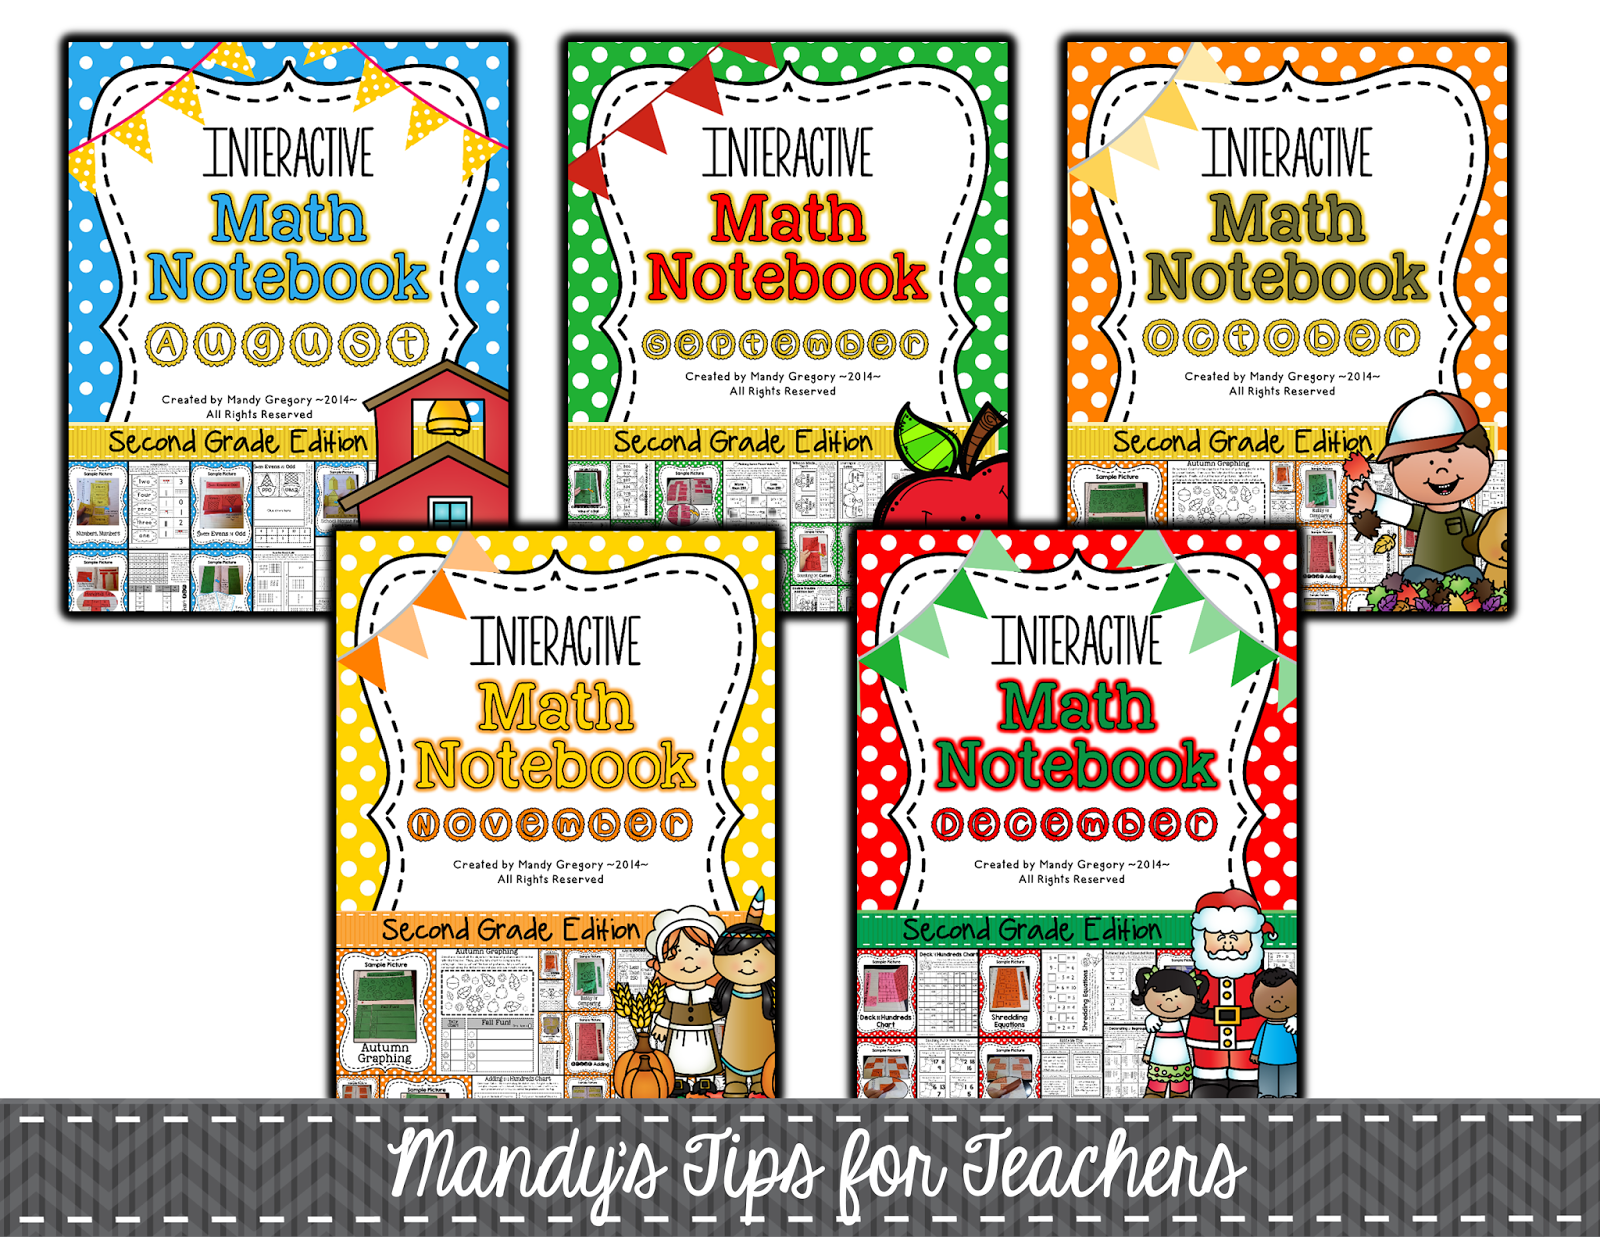
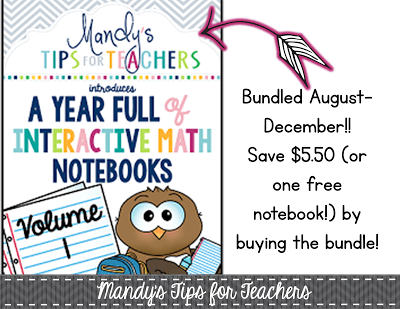
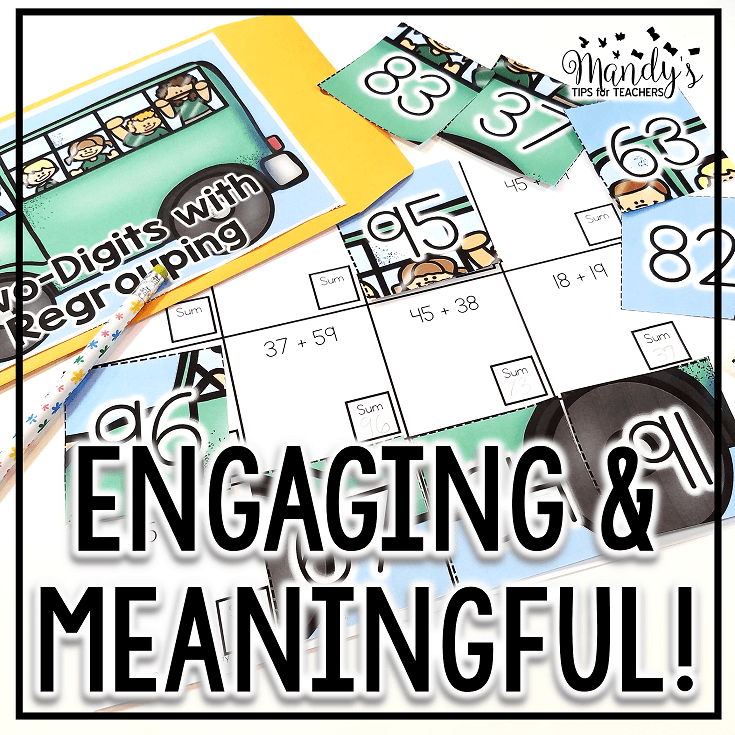
Are you thinking about starting interactive notebooks? I have a monthly math interactive notebooks exactly correlated to the second grade standards. Do you think it might be a good fit for your classroom? Here are a few hints on why they are a FABULOUS classroom learning tool!
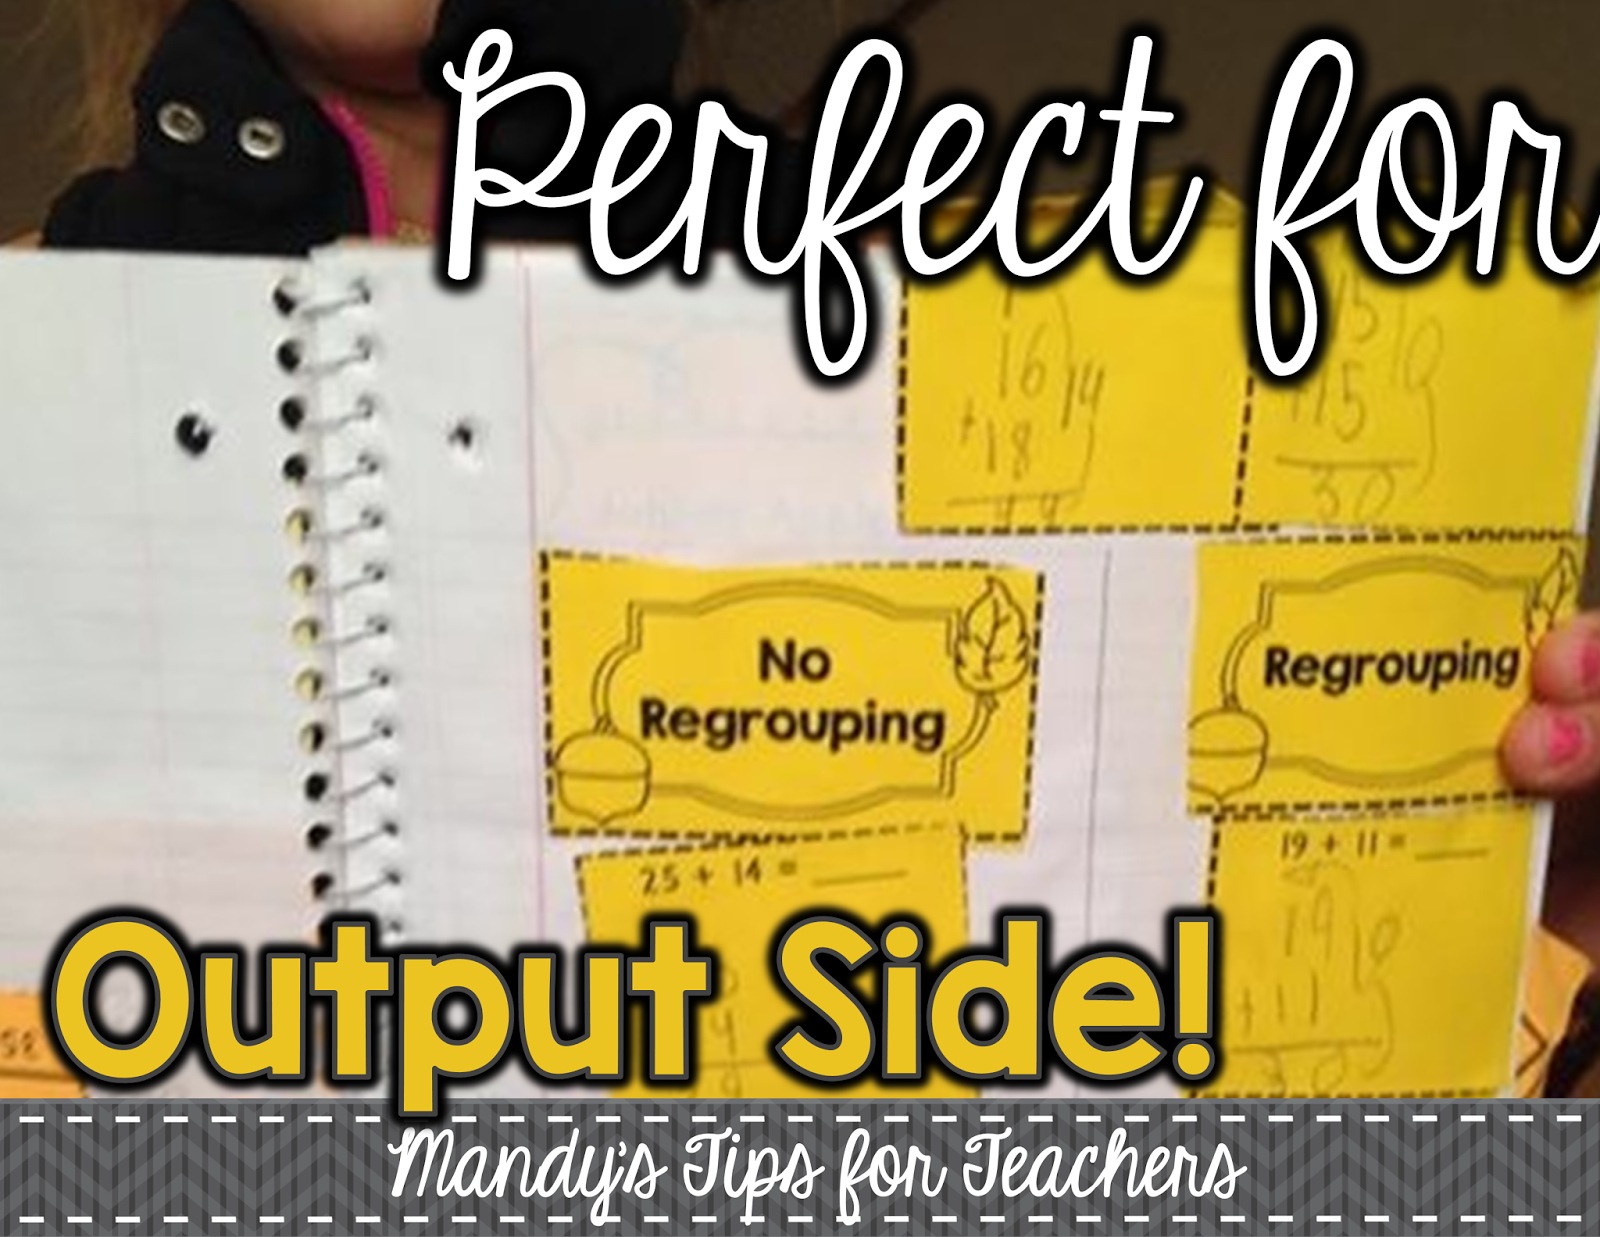
Interactive notebooks are actually more than just cutting and pasting. It is a system for leanring and organizing thoughts and practice during lessons. Jennifer from 4mulafun.com is an expert at this! She created the image above to show how one side of the notebook is for teacher directed material and the other is guided practice.
My monthly interactive math notebook packs are perfect for the output side. The notebooks cover a variety of skills for students to practice their learning.
My monthly interactive math notebooks are a great “quick and dirty” check of students learning. They target specific skills and are perfect for a check in.
And last, but not least, my monthly interactive math notebooks are FUN! Kids LOVE working on them and I have been told by more than one person that their students actually REQUEST them! For real!
And just because….I discounted ALLL my interactive notebooks 20%, too! Check out my ELA, spelling, science, and social studies interactive notebooks!
And one last thing…did you guys see this awesome video, Molly from Classroom Confections made? It is PERFECT for introducing interactive notebooks with students and getting them excited! Love it!!
Click here for this great pack of FREE math centers, plus get tips and updates from me!
Mandy Gregory is a 2007 and 2012 Teacher of the Year. She has taught Kindergarten- 4th grades in both the general education and inclusion settings. She is currently a 1st grade Special Education teacher. She is the owner and creator of Mandy’s Tips for Teachers website (www.mandystipsforteachers.com) and has over 13 years of teaching experience. She is married with two beautiful children.
Wish we could go to dinner sometime and chat it up! 🙂 I LOVED integrating INB's into my classroom last year, but had no clue about the left side/right side–input/output thing. I've read about it more and more this summer. I do see a few critics of the process, but I think it would even be good for extension for students who are early finishers. Lots of great tips! Have you heard the tip about duct taping a straw to the side as a pencil holder? I saw it on Pinterest but wasn't sure if it actually worked…
Lots of great tips!! I love all of your stuff, but more importantly my kids love it and learn so much more by interacting with the information being learned.
Thanks for the awesome tips ! I know they will be helpful when I use interactive notebooks this year. Yours looks fantastic and I look forward to using it. Thanks so much Mandy !!
Mandy–you have included so many great ideas. I am going to have to come back and read through them again as the school year progresses. Thanks for your Tips–they are always great.
As usual, you are fantastic at sharing what works and sharing ideas. Your resources are fabulous! I bought the bundle for this coming school year. I can't wait to use it!
This is a great post! I used interactive notebooks in my 1st grade classroom last year. Since they take ALOT of time, we didn't use them much. I will definitely use your suggestions!! Mrs. Christy’s Leaping Loopers


Wish we could go to dinner sometime and chat it up! 🙂 I LOVED integrating INB's into my classroom last year, but had no clue about the left side/right side–input/output thing. I've read about it more and more this summer. I do see a few critics of the process, but I think it would even be good for extension for students who are early finishers. Lots of great tips! Have you heard the tip about duct taping a straw to the side as a pencil holder? I saw it on Pinterest but wasn't sure if it actually worked…
Lots of great tips!! I love all of your stuff, but more importantly my kids love it and learn so much more by interacting with the information being learned.
Thanks for the awesome tips ! I know they will be helpful when I use interactive notebooks this year. Yours looks fantastic and I look forward to using it. Thanks so much Mandy !!
Mandy–you have included so many great ideas. I am going to have to come back and read through them again as the school year progresses. Thanks for your Tips–they are always great.
As usual, you are fantastic at sharing what works and sharing ideas. Your resources are fabulous! I bought the bundle for this coming school year. I can't wait to use it!
This is a great post! I used interactive notebooks in my 1st grade classroom last year. Since they take ALOT of time, we didn't use them much. I will definitely use your suggestions!!
Mrs. Christy’s Leaping Loopers
Super ideas, Mandy! Bookmarked for that day in August when I will have forgotten all your tips!